Easy hand made art ...
 |
| Courtesy of Better Homes and Gardens |
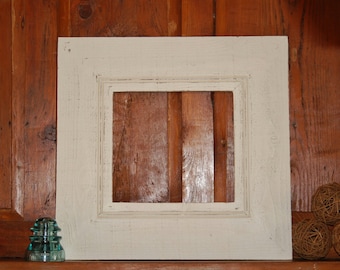
like this Barnwood Distressed one from CobblestonesVintage on Etsy
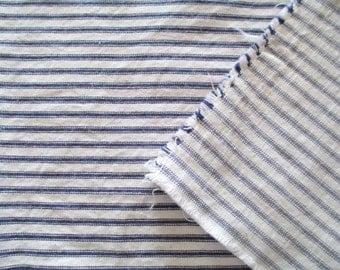
2nd. Fabric
large enough to cover the opening in the frame
large enough to cover the opening in the frame
like this ticking from AStringorTwo on Etsy
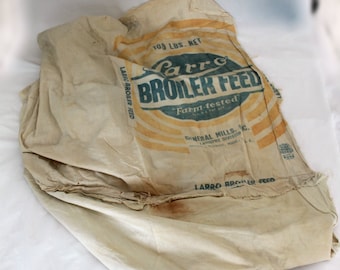
or Old Sacks
from FragmentsAnotherTime on Etsy
or a Scarf
from retrogroovie on Etsy

3. If your frame has glass in it, just cover the glass with your fabric.
If not, fit the back with a piece of cardboard.
Cover the cardboard with your fabric of choice and place in your frame.
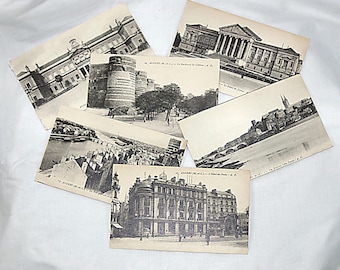
4. Pictures to arrange in a heart or maybe a Monogram letter, like these,
French Postcards from KickassStyle on Etsy
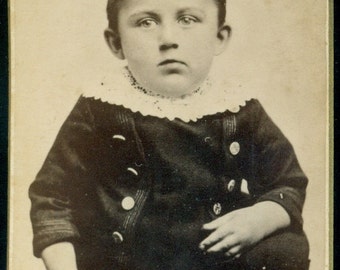
Victorian Black and White Photos from DavesPaperGoods on Etsy
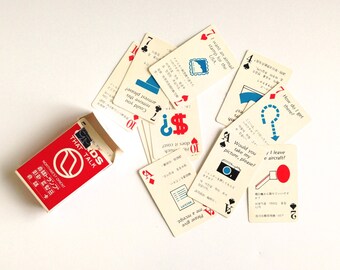
Or maybe old Playing Cards from MissSarahBelle on Etsy
5. Using something simple like sticky 'funtack' or double sided tape, place on the backside of the pictures or cards and stick onto the from in the shape of a heart or letter.
Tell me about your amazing creation!
I will be adding my picture here this week :)