Sunday, January 9, 2011

21 day Organize .... Day 1 Catch-up Junk Drawer ...


I don't have a junk drawer ... I have 3 ... and technically none of them are junk drawers, but they get pretty junky ... My kitchen only have 3 drawers (weird hey), 2 big deep ones and one for utensils ... so needless to say they all get extremely messy.

BEFORE: Bottom Drawer ... wow, no wonder I never know whats in there!

A few fun vintage tools I use ... food grinder, potato 'ricer' and decorator/cookie press ...

AFTER: Okay, it still looks kinda messy, but trust me, I know where everything is in that drawer now, purged & move some other things, seems a waste it's only half full now ...


BEFORE: Middle Drawer, mostly tea towels, dish rags, zip-lock bags, cling wrap, tinfoil and a bag of bags/straws/twist ties ...

AFTER: nicely stacked, found my handmixer (yay), found a stash of batteries (yay), found CHOCOLATE (double yay)


BEFORE: Utensil drawer .... the picture speaks for itself ....
AFTER: now the knifes are happily with the knifes and so on and so forth ...
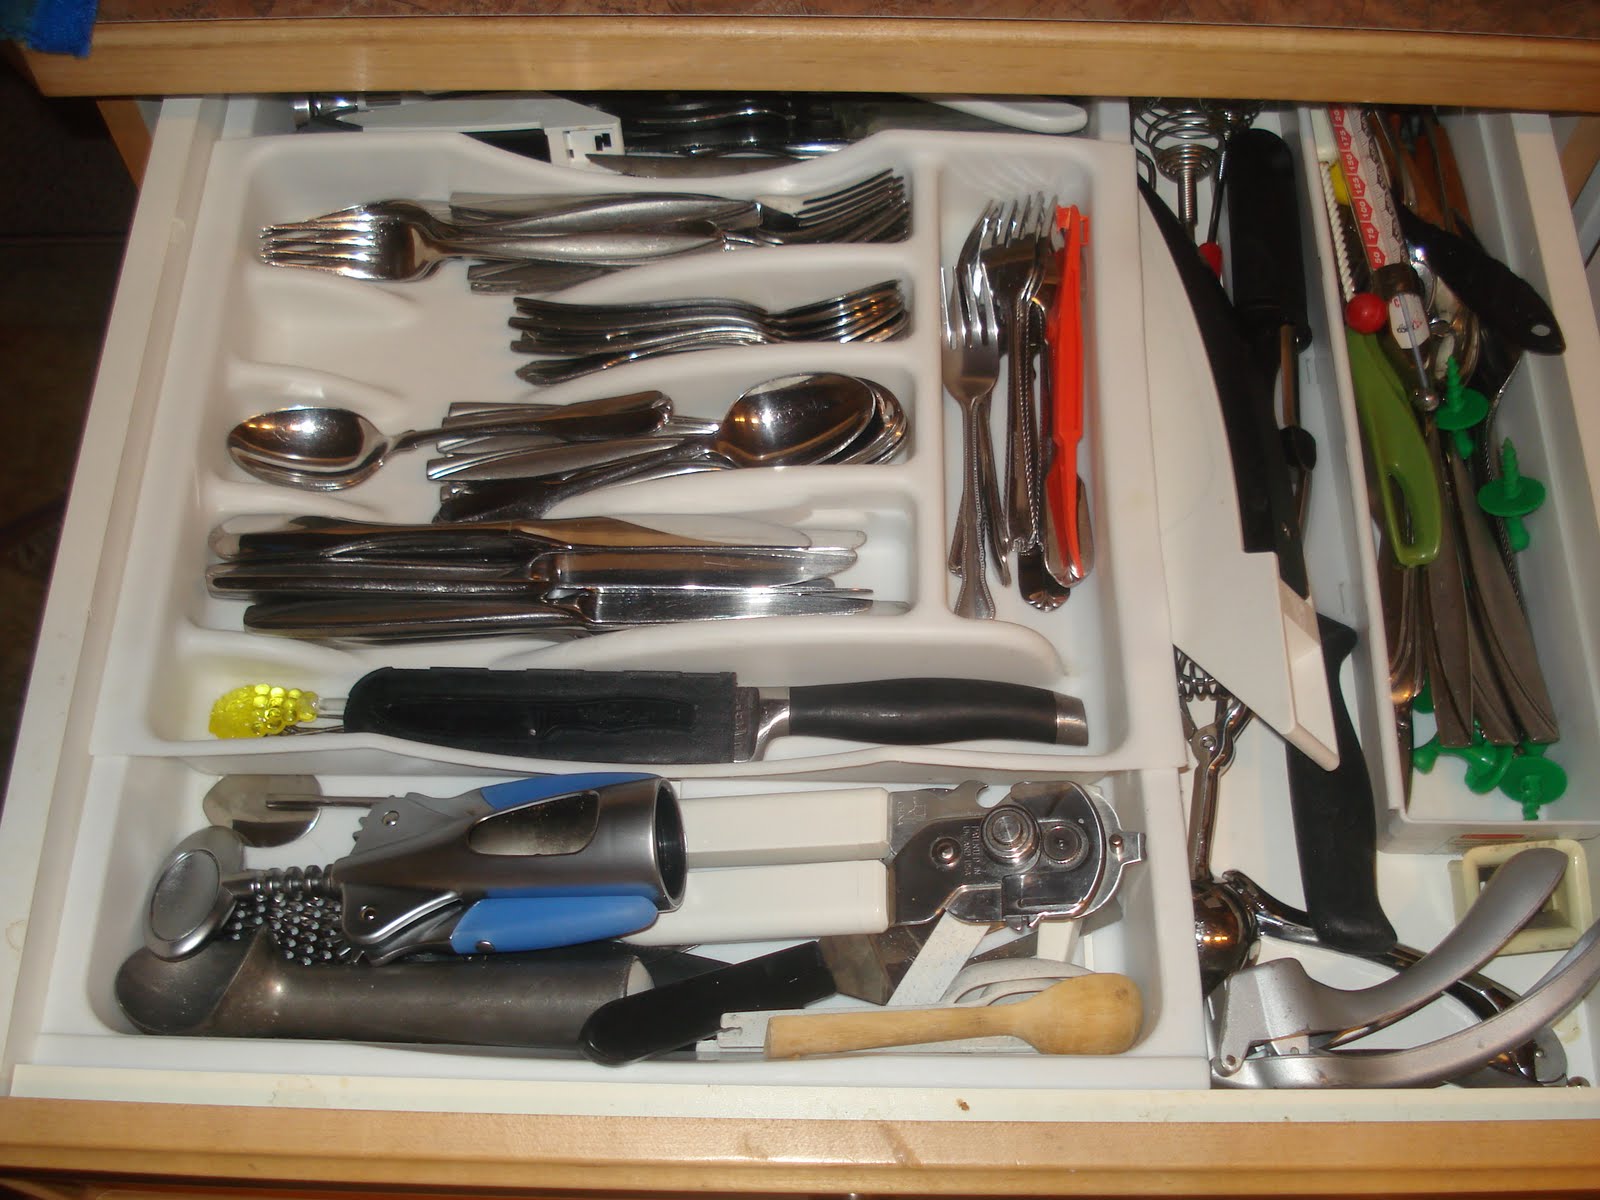

and where did all these extra knives/spoons/forks come from ... and what do I do with them now? I better learn how to weld and put together a windchime or something ...

Saturday, January 8, 2011

21 day Organize ... playing Catch-up with day 5 ... Under the SINK!

BEFORE: Basically my organizational routine is 'quickly open the door, toss whatever you need in & close the door quickly before something falls out' then pray you don't need it again for a long long time ...

there are a few cleaners of which I am making the switch over to all natural cleaners; essential oils, baking soda & vinegar are my staples .... no paper towels, note the BIG stack of rags ... Plastic Bags are kept for future uses (not to be tossed) as I have an ever growing stash of reusable bags at the back door and grab they when I go shopping ...

Progress ... how does the floor of the cabinet get so icky?

AFTER: Okay, I forgot the contact paper ... I don't have contact paper and I wasn't running out to get any , I'll keep an eye out when I'm 'treasure hunting' for some ....
other than that ... looks purty dang good :)

Friday, January 7, 2011

Dress the Dresser ... Yay!!!


Day 6 of the Getting Organized challenge ... get motivated, join the challenge with A bowl full of lemons ... I have to get caught up as this is my first day ... hey I only took the challenge yesterday ...and I do have Day 5 done also, I just have to post it :)

Well ... my messy little secret ... my dresser, my catch-all, my I'll put this away later ... what? I just close the bedroom door and no one knows! :) ... My bedroom set is a hand-me-down from my Gramma ... some of the drawer guides are broken so if I'm not careful a bruised toe can be the result ... I've often thought I might paint it to spruce it up a bit ... a bit more motivation is needed ... oh - plus I haven't had the mirror on since we moved into the house in 2005 ... It's in a closet, somewhere ...


Now, I have to make it clear that I did not skip the 'clean out the drawers' part ... I did just do that last week, mostly due to the fact I couldn't close most of them ... so they have been purged and sorted and folded, socks all match, sweaters with sweaters, jammies with jammies ... the only 3 drawers that didn't get touched are the 3 on the far left, which are hubbies ...

I found that mirror (there's actually supposed to be 2 and they stand up tall) but my son has one in his room ... I thought it might look good on it's side and I have to admit I really like it. I cleaned the dust bunnies with my homemade kitchen spray, then gave the whole thing, sides & front of drawers included a good rub with Lemon Oil, fancied it up a bit with some knick knacks ... voila - isn't it pretty ?

Wednesday, January 5, 2011

1, 2, 3 - Pants ... Yes you can make your child pants - Sew EASY


1. Find yourself a nice pair of pants you are no longer wearing
2. Find a pair of your child's pants that fit him nicely
3. Use those little pants as a pattern
4. I snipped off that nice thick elastic to use for the little pants
and ended up with enough for 2 pair :)


5. Sew up the inner seams of each leg, then attach the 2 pieces together. The great thing is they are already hemmed and the outer seam is already sewn due to where I placed the 'pattern'
6. Attach the waistband. I thought a zig-zag seam would add a little detail to a slightly boring pair of pants


Oh and last but not least add one of the things that the little boy loves most ... hockey ... of course he'll wear them now!

Same thing with the flannel bottoms

Nifty new PJ bottoms