Thursday, February 10, 2011

Owl is the grand and rather clever old man of the forest. He can also spell Tuesday.

 It started as a few scrappy strips sewn together ... to make a crib quilt .... then the panel of fuzzy fleece was added in between the 2 panel of strips ... Bordered by the brown fleece

Then it needed some more length so I added strips of some of the same fabrics from the middle


Backed it with light teal Flannel ... quilted it ...
but it still needed something ... it was Zzzzzzzzzzz


OWLS!!


Cute Bouncing Owls ... I hope the new Mommy likes it ;)

now to make a girly one ... :)

Monday, January 24, 2011

Homemade Miche Cover ... using a placemat


Hmmm - I while back I made my own 'slipcover' for a Miche Bag and it was frustrating and stitchrippingly 'fun' (I'll post a picture of my first one at the end) ... so I put off trying another ...  Until I was hit with a brainwave while 'treasure hunting' in a thrift shop today ... Hey - these nice placemats are about the same size as a Miche cover ....
~~ Cardboard template of full cover~~
 (is for when I attempt to fabricate the whole cover)
~~~~~ Placemat $1.49 ~~~~
 (just seemed so much easier)

 Cardboard template for each side of bag.

Cutting 2 pieces of dark fabric, which will be the inside that the original Miche cover flaps will be inserted into.

The curved edge will be the top of the cover (as the original Miche cover is curved like that)

Press the edges of the insides down ...

I also pressed & hemmed the straight edge that will be the opening for the flaps of the Original Miche cover to go into.


 On my cardboard template I had marked where the 'Bottom' of the Bag would be, so I would know where to put the inside flaps. But after Trial 1 I ripped them on and repositioned them as far to the outside edge as I could.

~~EPIC FAIL~~ was trying to use fusible Heat activated hemming tape (2 times  grrr) that I just could not get to work ... so I gave up and sewed them to the placemat ...


 .... the inside view ...


... Inserting the Original into the Newly made Cover

Voila ~~~ The curved top edge isn't quite perfect ... but what the who ... looks pretty okay .... could always add some ribbon along the top to hide it I guess

I've got another one that I fabric glued the inside panels into place - I think it will look better without the seams showing


This is the first attempt to make the whole thing from scratch ... pretty wobbly seams along the top ... but I've gotten lots of compliments on it :)

Tuesday, January 11, 2011

Day 8 - Get your A$$ organized ... the Coat Closet ... so easy :)


Before:  Kinda messy ... however I did a huge purge before Christmas, I noticed a few ladies that were asking for warm winter coats on Kijiji so decided to weed out what I hadn't worn in a while and gift them ... I couldn't believe how many replies I got ... made me wish I had a dozen coats to give to people in need ...


AFTER: Shoes on the shoe rack, shelf straightened up ... I only wish they will all be this easy :)

Sunday, January 9, 2011

Day 7 ... Organize the pantry ...

If you haven't taken the 21 day Organize challenge yet ... WHAT ARE YOU WAITING FOR?! ... you're house is so clean? oh yah? I dare you to post pictures :) ... seriously, go to A bowl full of Lemons , and get inspired and motivated ... on to my pantry ...

BEFORE: to be honest, typically for me it's not that bad ... sorry :( ... but on a day to day basis only 1 or 2 things fall out onto my toes, and that's pretty good ... lol ... note Cleo, sniffing for stuff that has fallen out of broken bags, sad but true ... there's about 1/4 box of spilled Rottini tri-colour pasta down there ...


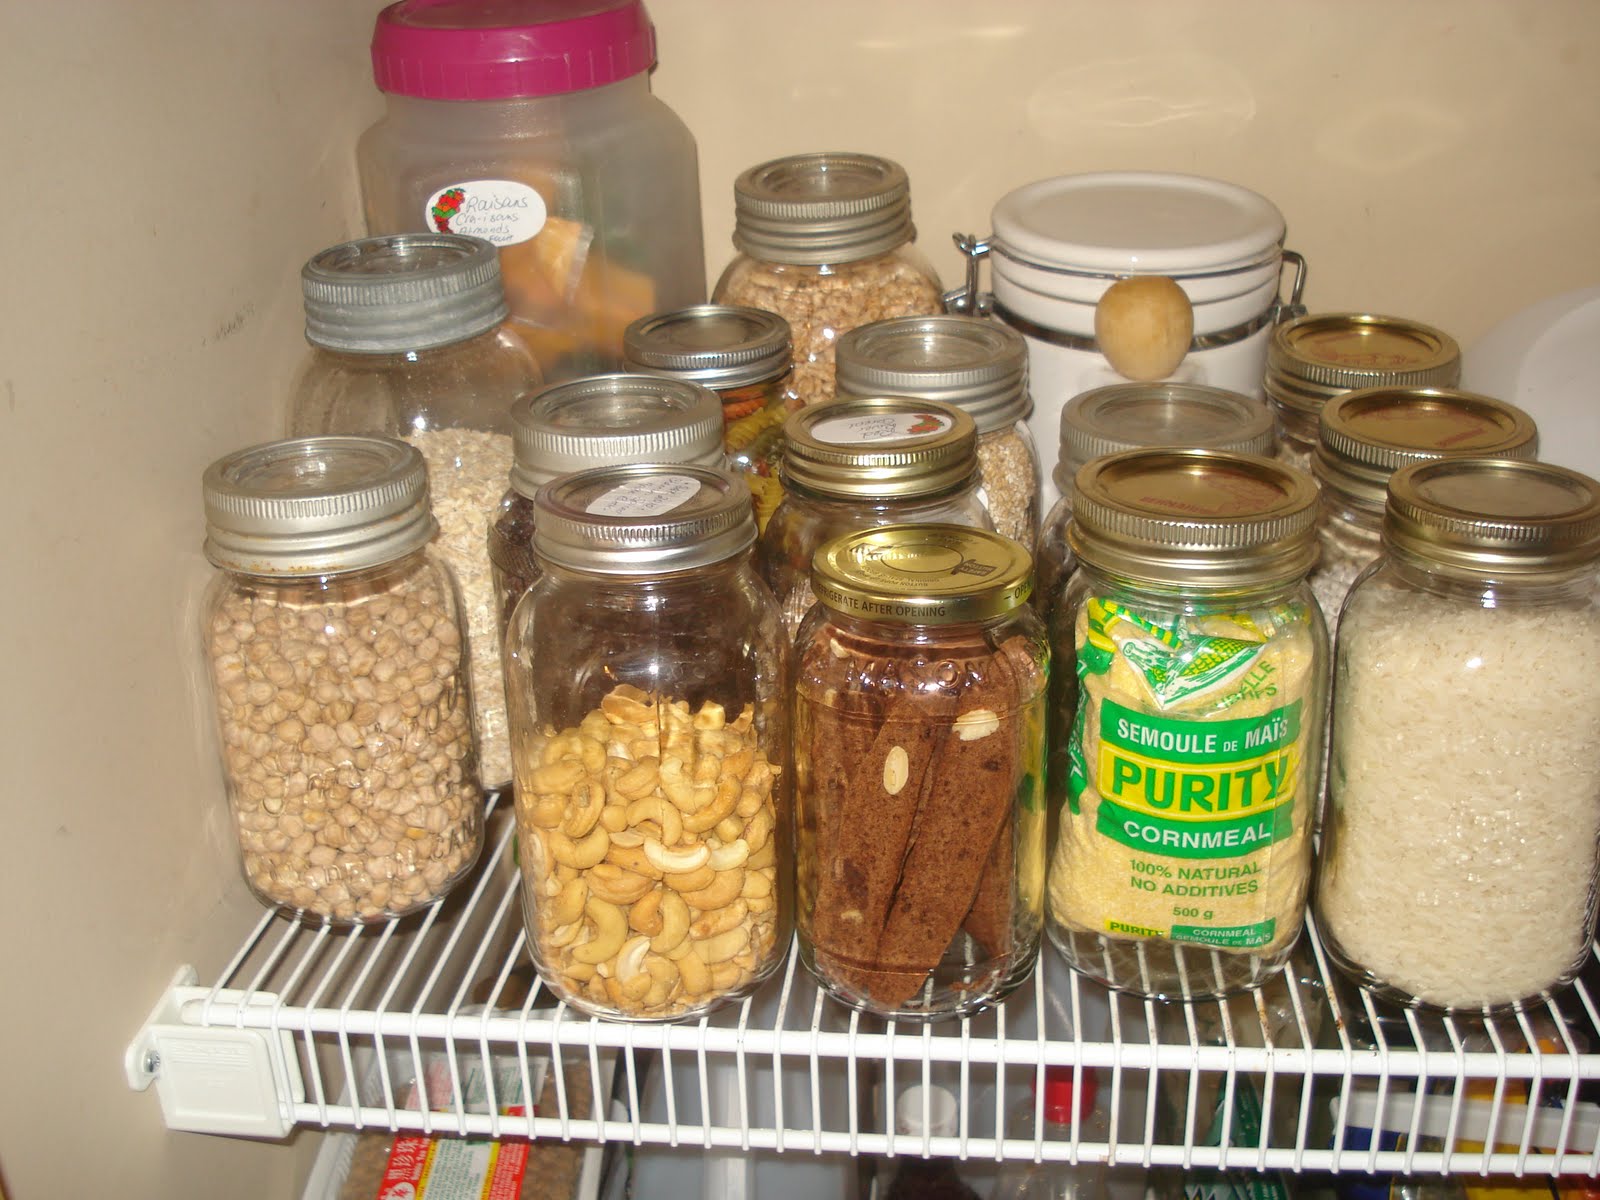
AFTER: Wowza!! Beautiful! Combined, Filled, Re-Jarred and Tossed ...


My Favourite Project: Transferring a bunch of stuff that was in bags with clips to some vintage Gem jars & Mason Jars that my Dad gave me ... Love the ones with the Glass tops ... Filled them with beans, cereal, chick peas, raisins, cornmeal and more .... and didn't cost me a dollar :)

Top Shelf: topped up my baking containers (sugar was empty, whole wheat flour was almost empty), tossed the stale crackers & cereal and restacked ...

Bottom ... Made the vintage 70's canisters accessible; they contain healthy snacks for the little boy, swept out the bottom and WOW!!